Setting up Rust in VS Code for Linux
Share on:Edit on:Table of Contents
- Introduction
- Download and Install Rust tools
- Download VS Code
- Install Rust Extensions
- Create a Hello World! project
- Debugging by setting breakpoints
Introduction
VS Code is by far the most suitable IDE for Rust code development. It supports rust extensions for syntax hightlighting, snippets, code compeltion, linting, code formatiing, code navigation, debugging and document generation.
So, we are going to setup and use VS code for this and subsequent rust related articles. Let’s proceed with the complete Rust setup for VS code.
The following procedure works straight for any Debian/Ubuntu based Linux systems
Download and Install Rust tools
Run the following command in the Linux terminal. This downloads the script and installs necessary Rust tools.
curl --proto '=https' --tlsv1.2 -sSf https://sh.rustup.rs | sh
When the installation promts for the Current installation options:, either press Enter or select the default option by entering 1.
Above command installs the following Rust tools
- rustup - The Rust installer and the version management tool
- rustc - Rust compiler
- cargo - Used to build, test and manage packages. Also used to build documentation and check formatting.
Now, run the following command in the current terminal session or re-open the new terminal to bring above installation in effect.
source $HOME/.cargo/env
Check the installation
Check the proper installation with the following command.
cargo --version
This should display cargo version number similar to following
cargo 1.54.0 (5ae8d74b3 2021-06-22)
Download VS Code
Now, let’s download the VS code IDE and install the extensions necessary for the Rust development.
Download microsoft signing key
Run the following commands to download microsoft signing key so that we could add the VS code repository, download and install in our system.
wget -qO- https://packages.microsoft.com/keys/microsoft.asc | gpg --dearmor > packages.microsoft.gpg
sudo install -o root -g root -m 644 packages.microsoft.gpg /etc/apt/trusted.gpg.d/
Type your password and press Enter.
Add VS code repository to the sources list
Run the following commands to add the VS code repository to the Ubuntu sources list.
sudo sh -c 'echo "deb [arch=amd64,arm64,armhf signed-by=/etc/apt/trusted.gpg.d/packages.microsoft.gpg] https://packages.microsoft.com/repos/code stable main" > /etc/apt/sources.list.d/vscode.list'
rm -f packages.microsoft.gpg
Update the sources and install vscode
Run the following commands to update the sources list and install the VS code.
sudo apt install apt-transport-https
sudo apt update
sudo apt install code
For Linux based systems other than Debian or Ubuntu based, use the link https://code.visualstudio.com/docs/setup/linux to install VS Code.
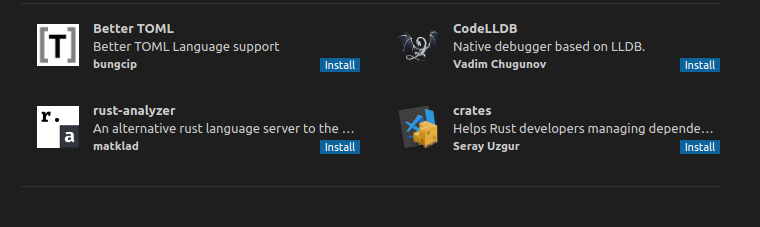
Install Rust Extensions
Now, VS code has been installed. Open the VS code IDE. Press Ctrl+Shift+X to open extension market place in the VS code. Search for the following extensions and click install.
- rust-analyzer - Supports code completion, go to definition, go to implementation and go to type definiton, syntax highlighting. You can find more about rust-analyzer at https://rust-analyzer.github.io/manual.html.
- crates - To manage the dependencies with Cargo.toml file. More about this file in the later rust articles.
- CodeLLDB - Supports native and remote debugging, disassembly, reverse debugging, core dump inspection. More about codelldb at https://github.com/vadimcn/vscode-lldb/blob/VERSION/MANUAL.md. Replace VERSION with codelldb version. ex: v1.6.5.
- Better TOML - Syntax hightlighting and validation for toml files and markdown files.
Create a Hello World! project
Create a new folder rust_hello_world in the home directory by running following command in the terminal.
mkdir ~/rust_hello_world
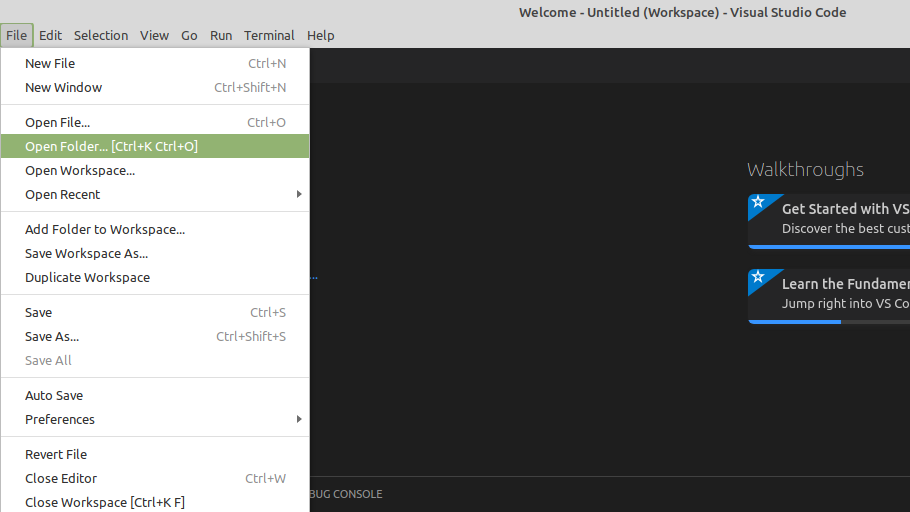
Now open the VS code. Click on File -> Open Folder from the menu, select the rust_hello_world directory present in the Home directory and then press OK.
Now right click anywhere in the Explorer and create a new file. Name it to Cargo.toml.
Add the following content into the file and save it by pressing Ctrl + S.
[package]
name = "hello_world"
version = "0.0.1"
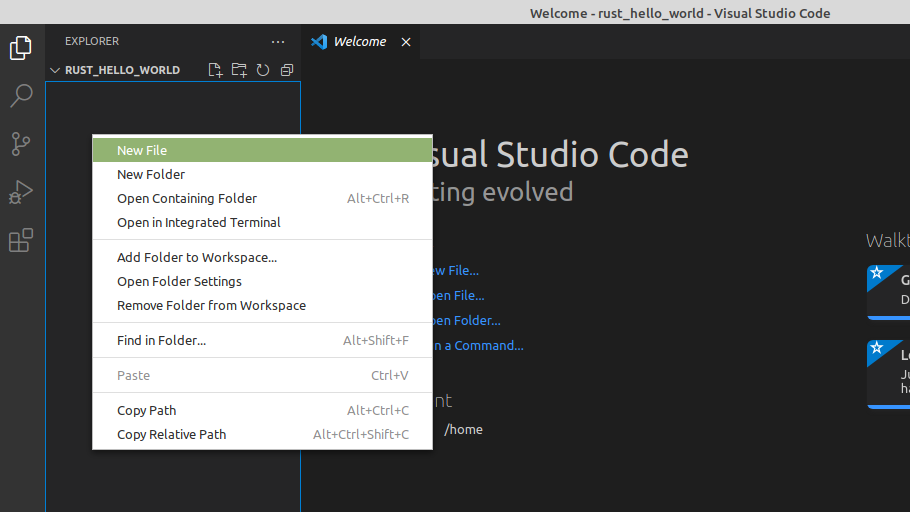
Now again right click on the explorer and create a new folder src. And then right click on the src folder, choose New File and name it to main.rs.
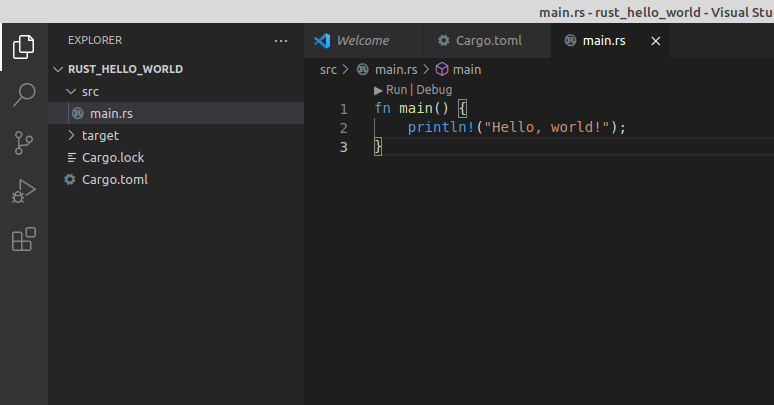
Add the following content to main.rs and save it.
fn main() {
    println!("Hello, world!");
}
Once you save the files, the project file hierarchy should be looking like following.
Building the project and running it
Press Ctrl + F5 to build and run the hello_world project. Alternatively you can click on Run -> Run Without Debugging from the menu. If any window pops up asking to generate launch configuration settings, press OK and then again build the project.
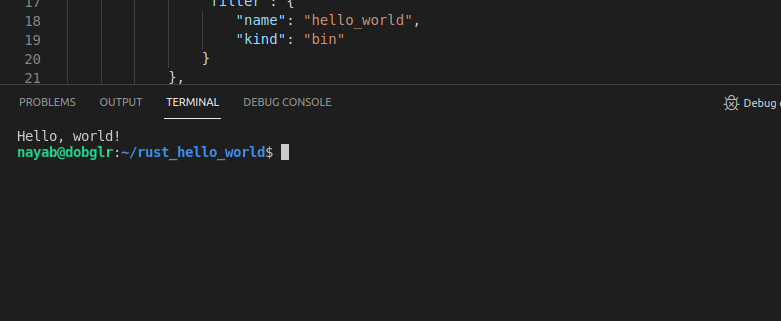
If everything works, the VS code integrated terminal shows Hello, World! output.
Debugging by setting breakpoints
You can set the breakpoints at specific lines and start debugging by pressing the F5 key. In the following case, I set the breakpoint at line 3 by hovering the mouse over line 3 and then clicking the red dot button there.
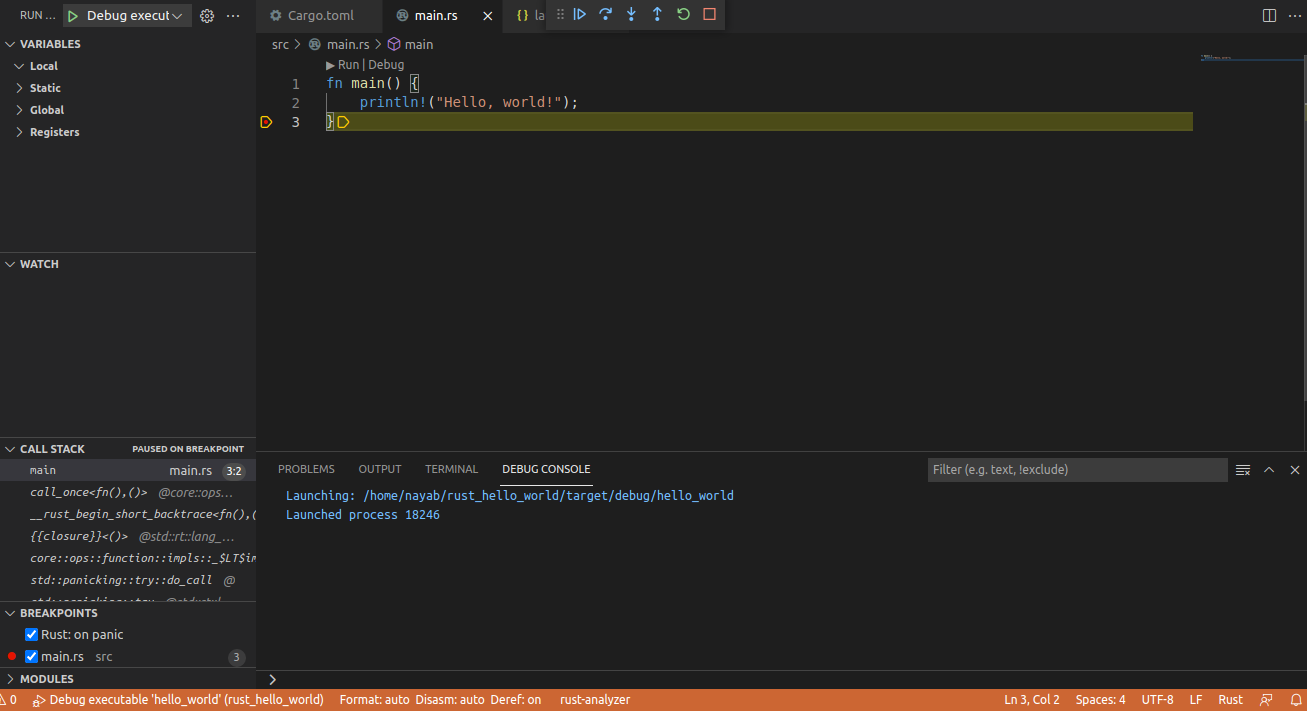
If you see the DEBUG CONSOLE window with the prints similar to following, congrats! your VS code setup for Rust code development is ready.